In previous posts I went though setting up a custom Arch Linux install image with ZFS pre-installed, and then installing ZFS on Arch linux. Once finished the install, the fun part comes; playing with all the interesting features ZFS has to offer. This post will walk through using and setting up some of the great futures ZFS has, and how to use them on Linux.
Part Three - Backups, Snapshots and Other Features Link to heading
Note: For the following post I work with an example pool similar to my own system which looks like the following.
[root]# zfs list
NAME                 USED  AVAIL  REFER  MOUNTPOINT
vault                327G   103G    96K  none
vault/ROOT          4.48G   103G    96K  none
vault/ROOT/default  4.48G   103G  2.35G  legacy
vault/home           253G   103G  94.1G  /home
vault/tmp            414M   103G  36.2M  /tmp
vault/usr           11.7G   103G  3.27G  legacy
vault/var           10.1G   103G  5.00G  legacy
Snapshots Link to heading
Snapshots are one of the best features of ZFS. They work in an intelligent manner and unlike some other filesystems that offer snapshots, they are atomic and instant.
Taking Snapshots Manually Link to heading
Taking a snapshot of a dataset, for example my home dataset ‘vault/home’, is as easy as:
[root]# zfs snapshot vault/home@snapshot-name
The part following the ‘@’ will be the name of the snapshot.
A recursive snapshot can be taken that will include all child datasets by using the ‘-r’ flag. To take a snapshot of an entire pool and it’s children datasets:
[root]# zfs snapshot -r vault@snapshot-name
The snapshots can be listed with zfs list -t snapshot
[root]# zfs list -t snapshot
NAME                                       USED  AVAIL  REFER  MOUNTPOINT
vault@snapshot-name                           0      -    96K  -
vault/ROOT/default@snapshot-name              0      -  2.35G  -
vault/home@snapshot-name                  4.91M      -  94.1G  -
vault/usr@snapshot-name                       0      -  3.27G  -
vault/var@snapshot-name                   4.00M      -  5.00G  -
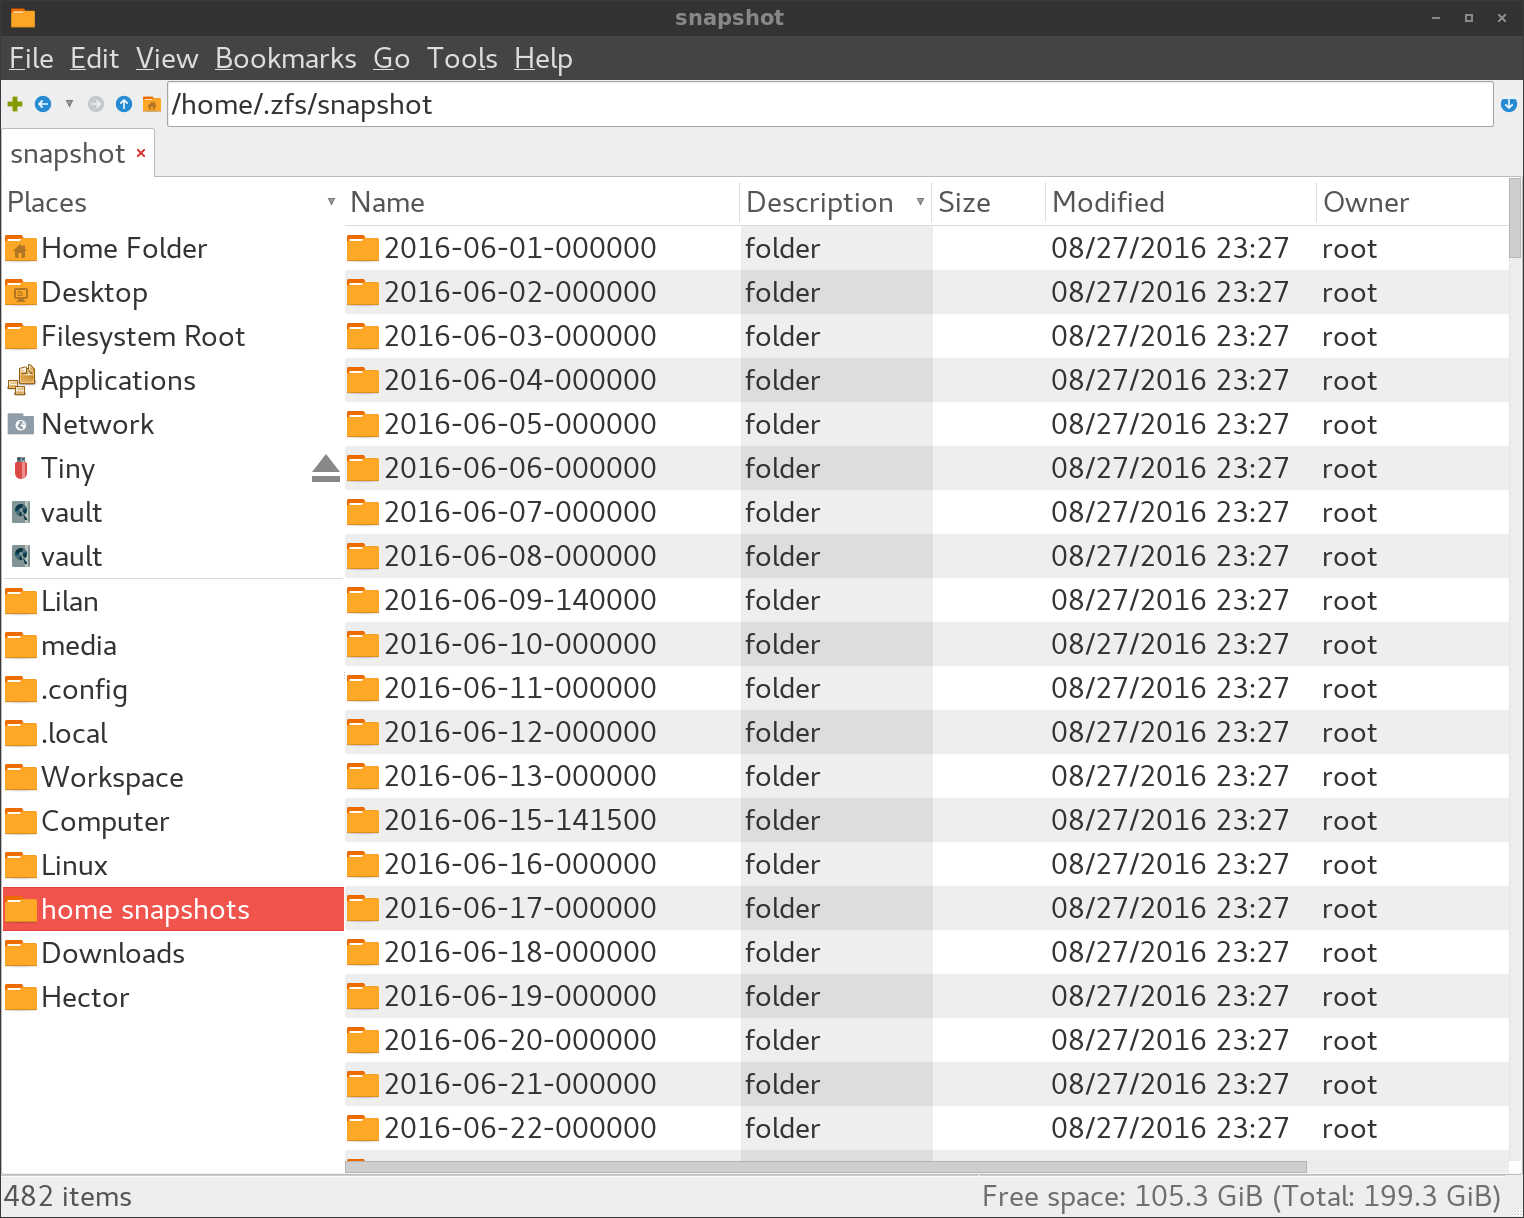
Snapshots can also be viewed by looking In the hidden directory ‘.zfs/snapshots/’. This folder will exist under every dataset.
This can be a great way to look for, and restore old files. If you delete something you need, instead of rolling back an entire snapshot, you can open up ‘.zfs/snapshots/’, find the snapshot you’re looking for, and restore your file.
ZFS Rollback Link to heading
If you decide to roll back to an existing snapshot, the syntax is very similar to taking a snapshot.
[root]# zfs rollback vault@snapshot-name
The ‘-r’ option can be confusing, seeing as when taking snapshots it means to take a recursive snapshot, you might assume the same here. In fact, the ‘-r’ option will destroy any snapshot between the one you want to roll back to, and the existing dataset. If you’ve taken snapshots after the snapshot you want to roll back to, it will probably be necessary to use this flag.
[root]# zfs rollback -r vault@snapshot-name
Sending Snapshots With ZFS Send and Recieve Link to heading
One of the great features that goes along well with snapshots is zfs send and zfs receive. zfs send and recieve streams snapshots to to another location or file, and can act similar to rsync. The fact that they can be streamed means they can be piped to another disk, another file for cold storage, or best of all, sent over SSH.
If you have access to another box with ZFS within reach of SSH, you can send entire datasets incrementally, and receive them on the other end replicating them into an identical dataset. With zfs send and receive you can even save snapshots, making it a perfect backup solution.
[root]# zfs send vault/home@zfs_snapshot | ssh user zfs recv tank/backups/home
If you do not have another machine with set of eyes on it to back up to, you can pipe ZFS send into a file, and back up that file. Later on you can pipe the file back into ZFS receive, restoring an old pool.
[root]# zfs send vault | gzip > zfs_backup.gz
Snapshot Tools Link to heading
Because the snapshots are so small and effectively take up no space until something changes, they really come to shine when used routinely. While it is possible to set up a simple backup system this way, there are numerous tools available to take care of the difficult parts.
ZFS Auto Snapshot Link to heading
One of the simplest of these is a shell script made by the ZFS on Linux guys, zfs-auto-snapshot, an “Automatic Snapshot Service for Linux”.
The Arch Linux package zfs-auto-snapshot-git, comes with systemd units and is simple to use requiring almost no setup.
While it can be customized by hand, several pre-configured systemd units come with the Arch package that will take snapshots every 15 minutes, hourly, daily, or monthly and we’ll take care of the cleanup process. It snapshot all datasets, in every pool. Datasets can be excluded by setting the property ‘com.sun:auto-snapshot=false’
This is the unit for the daily configuration, it will prefix all snapshots with znap and keep 31 snapshots at a time.
[root]# cat /usr/lib/systemd/system/zfs-auto-snapshot-daily.service
[Unit]
Description=ZFS daily snapshot service

[Service]
ExecStart=/bin/zfs-auto-snapshot --skip-scrub --prefix=znap --label=daily --keep=31 //
Setting up recurring snapshots on a daily basis is as simple as starting a few services:
[root]# systemctl enable zfs-auto-snapshot-daily.timer
[root]# systemctl start zfs-auto-snapshot-daily.timer
You will probably want to exclude your ‘/tmp’ directory.
[root]# zfs set com.sun:auto-snapshot=false vault/tmp
ZnapZend Link to heading
ZnapZend is a more advanced tool that not only takes snapshots, it will also send them over SSH to another computer and replicate datasets. After giving ZnapZend a dataset, source, and destination, it will do the rest. You can also give it specifications on how long to keep hourly, daily, monthly, and yearly snapshots. If you do not have a server to send your backups to you are also able to send them to another location on your computer.
The configuration is simple. For each dataset you want to replicate, you specify a configuration, and then enable the znapzend daemon which will take the snapshots and run the backups.
On my computer I have everything replicated every 15 minutes to my other server.
[root]# znapzendzetup create --recursive --tsformat='%Y-%m-%d-%H%M%S' \
    SRC '1d=>15min,7d=>1h,30d=>4h,90d=>1d' shard/home \
    DST:lilan '1d=>15min,7d=>1h,30d=>4h,90d=>1d,1y=>1w,10y=>1month' \
    replicator@192.168.0.4:tank/replication/Switchblade/home
The status of your replication can be checked with znapzendztatz.
[root]# znapzendztatz
USED    LAST SNAPSHOT       DATASET
 828M   2016-08-29-010000   shard/home
 905M   2016-08-29-010000   replicator@192.168.0.4:tank/replication/Switchblade/home
14.1M   2016-08-29-010000   vault/ROOT/default
22.8M   2016-08-29-010000   replicator@192.168.0.4:tank/replication/Switchblade/default
 144M   2016-08-29-010000   vault/usr
 232M   2016-08-29-010000   replicator@192.168.0.4:tank/replication/Switchblade/usr
 609M   2016-08-29-010000   vault/var
 712M   2016-08-29-010000   replicator@192.168.0.4:tank/replication/Switchblade/var
Scrub Link to heading
Occasionally ZFS should scan your datasets looking for and fixing any corruption it finds, this is called a scrub. Scrubbing is simple and should be run every few weeks.
To run a scrub on a pool run ‘zpool scrub ${pool}’.
On Arch Linux this can be run with a systemd service and timer. The package systemd-zpool-scrub includes a simple service file that will run a scrub weekly.
The service file zpool-scrub@.service:
[Unit]
Description=Scrub ZFS Pool
Requires=zfs.target
After=zfs.target

[Service]
Type=oneshot
ExecStartPre=-/usr/bin/zpool scrub -s %i
ExecStart=/usr/bin/zpool scrub %i
and timer zpool-scrub@.timer:
[Unit]
Description=Scrub ZFS pool weekly

[Timer]
OnCalendar=weekly
Persistent=true

[Install]
WantedBy=timers.target
These should be run for each pool:
[root]# systemctl enable zpool-scrub@vault.timer
[root]# systemctl start zpool-scrub@vault.timer
ZED: The ZFS Event Daemon Link to heading
The ZFS Event Daemon, or ZED, keeps track of currents events on your system and can do useful things such as shooting you an email when a scrub starts, or when your pool becomes unhealthy.
ZFS events can be seen with zpool events. As you can see here, recently a scrub was started on my system.
[root]# zpool events
TIME                           CLASS
Aug 28 2016 22:53:35.983333543 resource.fs.zfs.statechange
Aug 28 2016 22:53:36.106666894 ereport.fs.zfs.config.sync
Aug 28 2016 22:53:36.136666898 ereport.fs.zfs.config.sync
Aug 28 2016 22:53:38.856334836 resource.fs.zfs.statechange
Aug 28 2016 22:53:39.416334823 ereport.fs.zfs.config.sync
Aug 28 2016 22:53:39.523001487 ereport.fs.zfs.config.sync
Aug 29 2016 00:00:13.049477101 ereport.fs.zfs.scrub.start
Aug 29 2016 00:00:13.052810465 ereport.fs.zfs.scrub.start
Aug 29 2016 00:00:24.022911412 ereport.fs.zfs.scrub.finish
Aug 29 2016 00:16:40.849409154 ereport.fs.zfs.scrub.finish
I like to know that these scrubs are happening, and that they haven’t found anything that needs to be pursued. Assuming you have email setup on your system, setting the daemon up to email you is very easy. If you have not yet configured email, I recommend checking out SSMTP. Rather than being a mail server, SSMTP simply send out mail, and is quite easy to set up.
The ZFS Event Daemon has a few pre written configuration files, and can be set up in its simplest form by just uncommenting a few lines.
Edit the configuration file /etc/zfs/zed.d/zed.rc
[root]# nano /etc/zfs/zed.d/zed.rc
At minimum you will need to uncomment ZED_EMAIL_ADDR="root".
##
# zed.rc
#
# This file should be owned by root and permissioned 0600.
##

##
# Email address of the zpool administrator for receipt of notifications;
#   multiple addresses can be specified if they are delimited by whitespace.
# Email will only be sent if ZED_EMAIL_ADDR is defined.
# Disabled by default; uncomment to enable.
#
ZED_EMAIL_ADDR="root"
and start ZED.
[root]# systemctl start zfs-zed.service
[root]# systemctl enable zfs-zed.service
You may also want to define your mail program.
##
# Name or path of executable responsible for sending notifications via email;
#   the mail program must be capable of reading a message body from stdin.
# Email will only be sent if ZED_EMAIL_ADDR is defined.
#
ZED_EMAIL_PROG="mail"
If you want to receive email no matter the state of your pool, you’ll want to set ZED_NOTIFY_VERBOSE=1.
##
# Notification verbosity.
#   If set to 0, suppress notification if the pool is healthy.
#   If set to 1, send notification regardless of pool health.
#
ZED_NOTIFY_VERBOSE=1
I haven’t personally played with them, but there are some interesting options like setting a hard drive to be replaced when errors are detected.
##
# Replace a device with a hot spare after N checksum errors are detected.
# Disabled by default; uncomment to enable.
#
#ZED_SPARE_ON_CHECKSUM_ERRORS=10

##
# Replace a device with a hot spare after N I/O errors are detected.
# Disabled by default; uncomment to enable.
#
#ZED_SPARE_ON_IO_ERRORS=1
When a scrub finishes you’ll receive a message similar to this for a healthy pool.
Received: by Archon (sSMTP sendmail emulation); Mon, 29 Aug 2016 19:07:05 -0700
From: "root" <root@Archon.local>
Date: Mon, 29 Aug 2016 19:07:05 -0700
To: root
Subject: ZFS scrub.finish event for vault on Archon

ZFS has finished a scrub:

   eid: 8
 class: scrub.finish
  host: Archon
  time: 2016-08-29 19:07:05-0700
  pool: vault
 state: ONLINE
  scan: scrub repaired 0 in 0h19m with 0 errors on Mon Aug 29 19:07:05 2016
config:

	NAME                                       STATE     READ WRITE CKSUM
	vault                                      ONLINE       0     0     0
	  mirror-0                                 ONLINE       0     0     0
	    ata-SanDisk_SDSSDXPS480G_152271401093  ONLINE       0     0     0
	    ata-SanDisk_SDSSDXPS480G_154501401266  ONLINE       0     0     0

errors: No known data errors
If you’re not happy with the default email you can change what will be emailed to you by editinh the file /etc/zfs/zed.d/scrub.finish-notify.sh.
Conclusion Link to heading
There are many interesting features built into ZFS and I have only touched on a few of them. ZFS is a great piece of enterprise grade software and we owe a debt of gratitude to the programmers who I have made it so freely available, on multiple platforms.